What if you are being told that you need to keep all your life savings in a wallet and then leave that wallet on the internet? Doesn’t that sound risky?
Well, that’s what many crypto holders do when they store their assets on crypto exchange platforms or cryptocurrency wallets. And that could be riskier than you could have ever thought!
With crypto thefts reaching over $2.17 billion in the first half of 2025 alone, security is no longer optional; it’s important. That’s where hardware wallets step in as one of the most secure ways to protect your digital assets.
Curious to learn more about hardware wallets for crypto? You’re in the right place!
Here’s your hardware wallet beginner’s guide that will cover everything that you need to know about these types of cold storage wallets.
So, let’s get started!
What is a Hardware Wallet?
A hardware wallet is a type of offline crypto wallet or, more or less, a physical device that resembles a USB drive. It allows you to store the private keys safely to access your digital assets.
Unlike software wallets, which are only connected to the internet, these devices are not prone to online attacks. This means that hackers can’t access your private keys even if the device on which your hardware wallet is connected is attacked.
How Does a Hardware Wallet Work?
Here’s how a hardware wallet works step-by-step:
Wallet Setup
When you first set up your hardware wallet, the device will generate a unique private key and a corresponding recovery phrase. This phrase is the only backup to recover your wallet if the device is lost or damaged.
Secure Key Storage
The hardware wallet acts as a secure crypto storage where your private keys remain safe and never touch the internet. This is what makes hardware wallets so secure. This way, your private keys are kept safe from online threats.
Creating a Transaction
To send crypto, you connect your hardware wallet to a computer or smartphone via USB or Bluetooth. Using a compatible wallet interface, you can send Bitcoin or Ethereum to another wallet.
Transaction Signing on the Device
Once the unsigned transaction is sent to the hardware wallet, the device signs it internally using your private key. This process happens entirely within the wallet, ensuring the private key is never exposed to your computer or the internet.
Broadcasting the Transaction
After the transaction is signed, the wallet interface sends it to the blockchain network for processing. Because the transaction was signed securely within the hardware wallet, your crypto is sent without ever risking exposure to your private key.
Benefits of Using Hardware Wallets
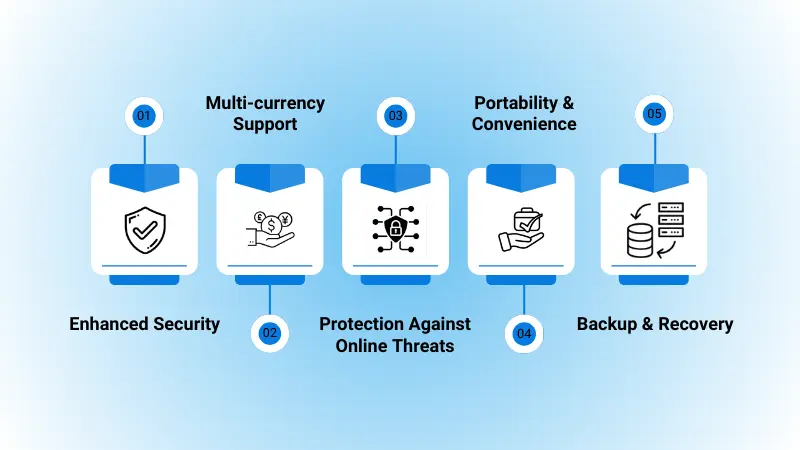
So, are you thinking of switching to a hardware wallet? Here are the benefits they offer and why you must make the switch today:
Enhanced Security
With hardware wallets, you don’t have to worry about hackers breaking into your wallet or losing all your funds. Even if your computer gets hacked, your hardware wallet keeps your crypto assets safe from unauthorized access.
Multi-currency Support
Most of the best hardware wallets support multiple cryptocurrencies. This enables you to store all your crypto assets safely and securely in one place. Be it Bitcoin, Ethereum, or less common tokens, having multi-currency support means you don’t need separate wallets for each asset.
Protection Against Online Threats
Because hardware wallets keep keys offline, they are protected from online threats like keyloggers, malware, and phishing. Even if your connected device is infected, hackers cannot access your private keys, which reduces the risk of unauthorized transactions or theft.
Portability & Convenience
Hardware wallets are compact and easy to carry, connecting to computers or smartphones via USB or Bluetooth. This makes managing your crypto straightforward and secure wherever you are and even offers flexibility without compromising on safety.
Backup & Recovery
During setup, hardware wallets provide a recovery phrase, which is a secure backup of your keys. If your device is lost or damaged, you can restore access to your funds using this phrase on a new wallet. This ensures you never lose your crypto, even if the device itself is gone.
Beyond individual use, many businesses are now investing in custom crypto wallet solutions to provide the same level of security for their users.
Popular Hardware Wallets in 2025
Now, let’s take a look at the top options and explore the pros and cons of hardware wallets!
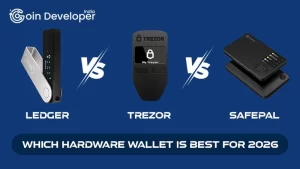
Trezor Model T
The Trezor Model T is by far the best hardware wallet in 2025 that is known for its robust security features and user-friendly interface. It supports a wide range of cryptocurrencies and offers advanced recovery options, which makes it a top choice for both beginners and experienced users.
| PROS | CONS |
| Open-source firmware ensures transparency | No mobile app support |
| Touchscreen for easy navigation | Higher price point compared to some competitors |
| Supports over 1,000 cryptocurrencies | No Bluetooth connectivity |
Ledger Nano X
The Ledger Nano X is one of the best hardware wallets that offers Bluetooth connectivity. This hardware wallet is known for enhanced security, as it offers a secure element chip. It allows users to manage multiple cryptocurrencies and is compatible with both desktop and mobile devices.
| PROS | CONS |
| Bluetooth support for mobile use | Proprietary firmware limits transparency |
| Secure element chip for added security | Higher cost compared to some alternatives |
| Supports over 5,500 cryptocurrencies | Past security incidents have raised concerns |
SafePal S1
The SafePal S1 is an air-gapped hardware wallet that emphasizes self-custody and offline security. It’s mobile-friendly and offers features like staking and NFT management, making it a solid choice for users seeking a secure and convenient solution.
| PROS | CONS |
| Air-gapped signing for maximum security | No desktop application available |
| Mobile app integration | Limited customer support |
| Affordable pricing | Closed-source firmware may deter users |
Ellipal Titan
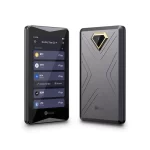
The Ellipal Titan is another well-known fully air-gapped hardware wallet that offers robust security features and a large touchscreen for easy navigation. It is designed to be tamper-proof and supports a wide range of cryptocurrencies for convenient use.
| PROS | CONS |
| Fully air-gapped for enhanced security | No Bluetooth or Wi-Fi connectivity |
| Large touchscreen for easy navigation | A larger size may be less portable |
| Supports a wide range of cryptocurrencies | Higher price as compared to competitors |
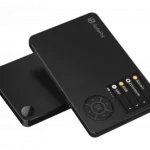
Arculus Key
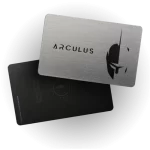
The Arculus Key is a contactless hardware wallet that uses a secure element chip for protection. It is designed for ease of use and offers features like staking and NFT support, which makes it a convenient option for users looking for a more secure solution.
| PROS | CONS |
| Contactless design for ease of use | Limited cryptocurrency support |
| Secure element chip for added security | No mobile app support |
| Supports staking and NFT management | Not fully open-source |
How to SetUp a Hardware Wallet?
Now, let’s check out the steps that can help you in crypto hardware wallet setup!
Step 1: Get your Hardware Wallet
First things first, you need to purchase your hardware wallet from the official website or authorized distributors.
Step 2: Download the App or Software
Some of the hardware wallets, like Ledger Nano or Trezor, require users to download a specific app or software to configure and manage their cryptocurrencies. For that, you need to visit the official website and ensure that you download the app’s right version.
Step 3: Connect Your Hardware Wallet
Next, use a USB cable to connect your hardware wallet to your device and follow the on-screen instructions for setup.
Step 4: Set Up a PIN
Create a unique PIN for your hardware wallet. You need to ensure that it is strong enough and easy to remember.
Step 5: Copy & Verify Your Seed Phrase
Following that, your hardware wallet will generate a 24-word seed phrase. One of the security tips for crypto wallet users is to write it down on a piece of paper and store it securely. Furthermore, the wallet will next ask you to enter some of the words in order. Thus, copy it correctly.
Step 6: Configure Your Wallet
Next, you need to follow the instructions displayed on the screen to set up your hardware wallet. You can also add different cryptocurrencies and manage your funds easily.
Step 7: Perform a Test Transaction
To make sure that everything is working correctly, you need to make a small test transaction. Also, verify that you can send and receive funds smoothly.
Step 8: Store Your Hardware Wallet in a Safe Place
Once everything is done, ensure that you keep your hardware wallet in a safe place. You must keep it away from possible physical damage and avoid exposing it to extreme temperatures.
The End Note
So, there you have it!
Hardware wallets might look like simple USB devices, but they play a huge role in keeping your crypto assets safe.
If you are serious about protecting your digital assets, a hardware wallet is a smart investment. It keeps your private keys offline, away from hackers, and gives you full control over your funds.
On the other hand, do you need help navigating the blockchain space or building your own crypto project? That’s where Coin Developer India comes in! We have got the expertise to help you succeed in this fast-evolving industry.
Get in touch with us today!
FAQs
Is a hardware wallet safe for beginners?
Yes, absolutely! Hardware wallets are designed with security in mind, and many come with step-by-step setup guides. While there is a small learning curve, beginners can safely use hardware wallets as long as they follow basic best practices like backing up their recovery phrase and keeping the device secure.
Which is the best hardware wallet for long-term holding?
For long-term holding, hardware wallets like Ledger Nano X, Trezor Model T, and SafePal S1 are popular choices. They offer robust security features, regular firmware updates, and support for multiple cryptocurrencies.
Do I need a hardware wallet for Bitcoin and Ethereum?
While you don’t need a hardware wallet to store Bitcoin or Ethereum, if you’re holding a significant amount or planning to store it long-term, then you must use it.
How do I secure my crypto with a hardware wallet?
Here are a few ways to secure your crypto using a hardware wallet:
- Buy your wallet from an official source.
- Set up the wallet following the manufacturer’s instructions.
- Write down and safely store your recovery seed phrase, and don’t take a photo or store it online.
- Use a strong PIN for the device.
- Keep your wallet and seed phrase in different secure locations.
What happens if I lose my hardware wallet?
Don’t worry! If you lose the device, you can still recover your funds using your recovery seed phrase. All you need to do is set up a new hardware wallet and enter your seed phrase during setup, and your crypto will be restored.
Can I use one hardware wallet for multiple cryptocurrencies?
Yes! Most modern hardware wallets support a wide range of cryptocurrencies. For example, Ledger and Trezor support hundreds of coins and tokens. This way, you can manage all your assets in one place.